Follow Me On Social Media!

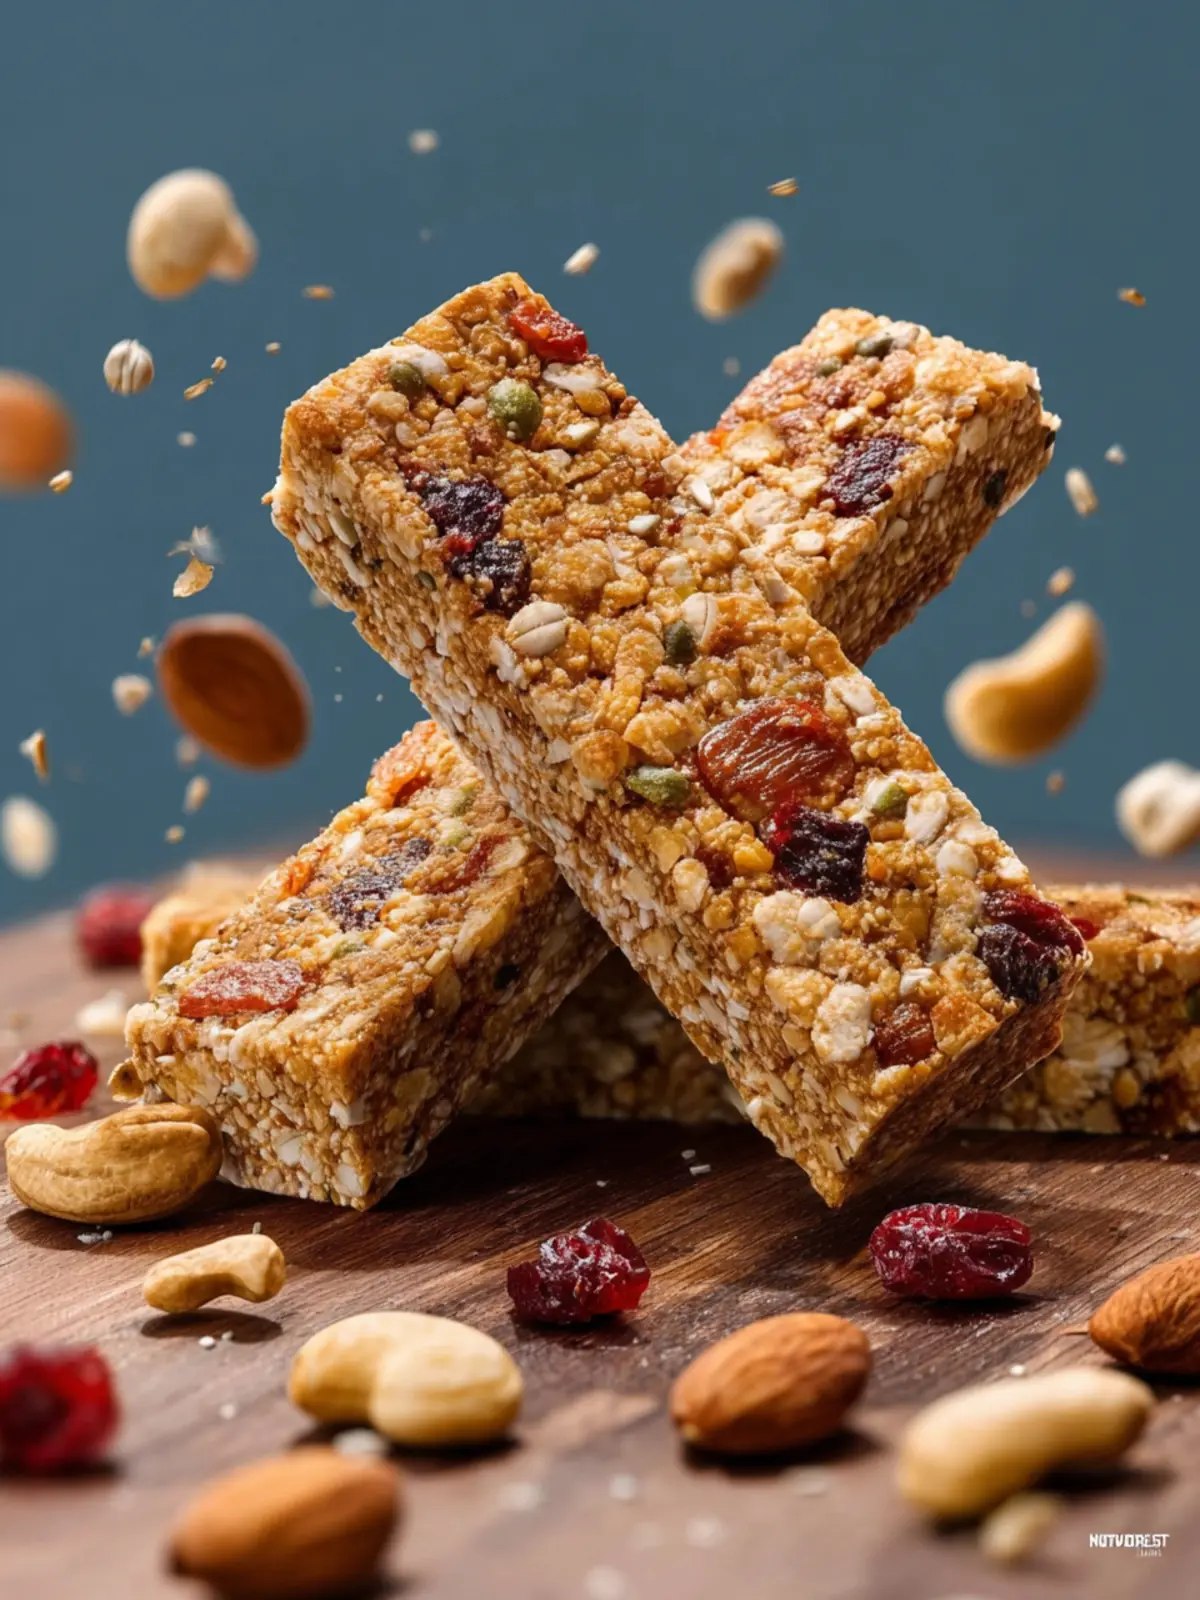
No-Bake Granola Bars for Effortless, Guilt-Free Snacking
Introduction to No-Bake Granola Bars
Imagine a satisfying snack that’s as easy to make as it is delicious. Enter no-bake granola bars, a delightful treat that has become a staple in many kitchens, and for good reason! On those busy weekdays or lazy weekends, these bars provide a quick, nutritious munch when you need it most without requiring any baking. Whether you’re rushing out the door or looking for a post-workout fuel, these bars deliver just the right balance of flavors and textures.
Why No-Bake Granola Bars Are a Game-Changer
No-bake granola bars bring a world of convenience to your snacking routine. With just a handful of ingredients and minimal prep time, you can whip up a batch that will keep you fueled and satisfied. The flexibility of these bars is another highlight; you can customize them with your favorite ingredients, making it easy to cater to varying tastes and dietary preferences.
Think about it—why turn on the oven when you don’t have to? In our fast-paced lives, every minute counts. Plus, with no-bake granola bars, they’re ready in mere moments. Once combined, all you need to do is press the mixture into a pan, chill it in the fridge, and voilà! You have a nutritious snack on hand, ideal for a quick breakfast or an afternoon pick-me-up.
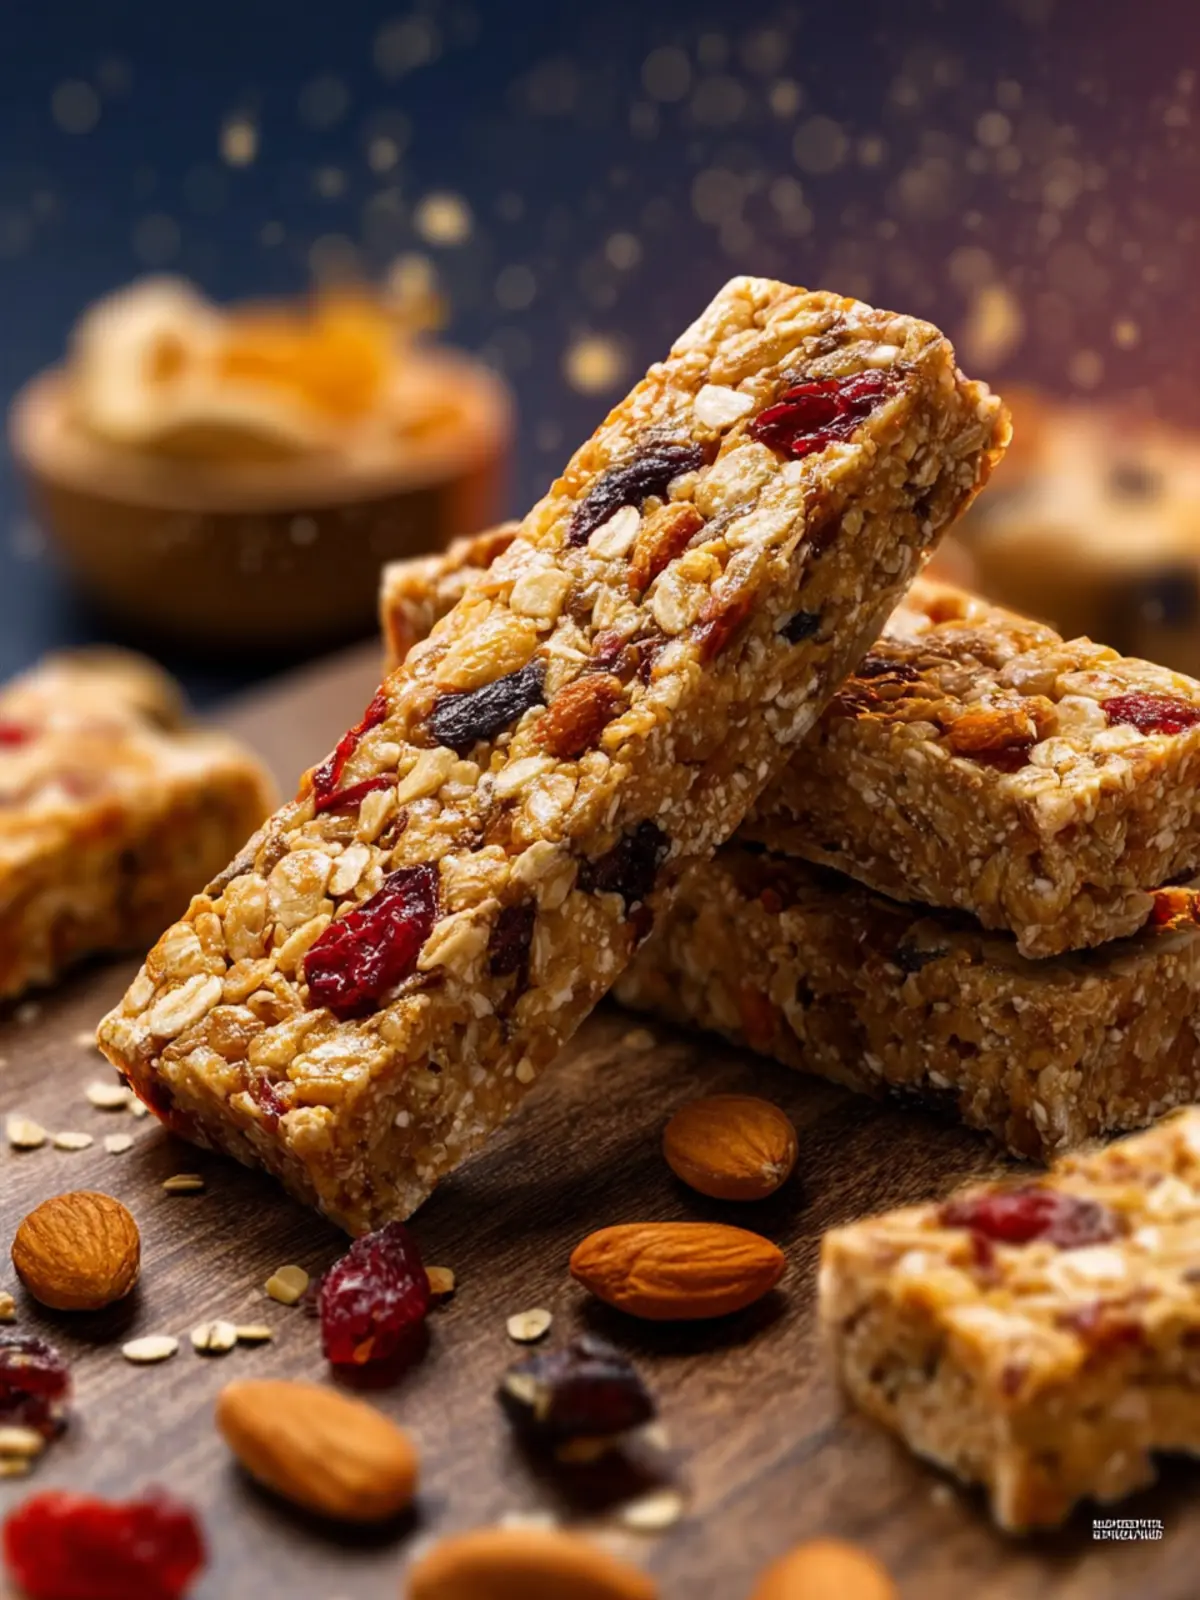
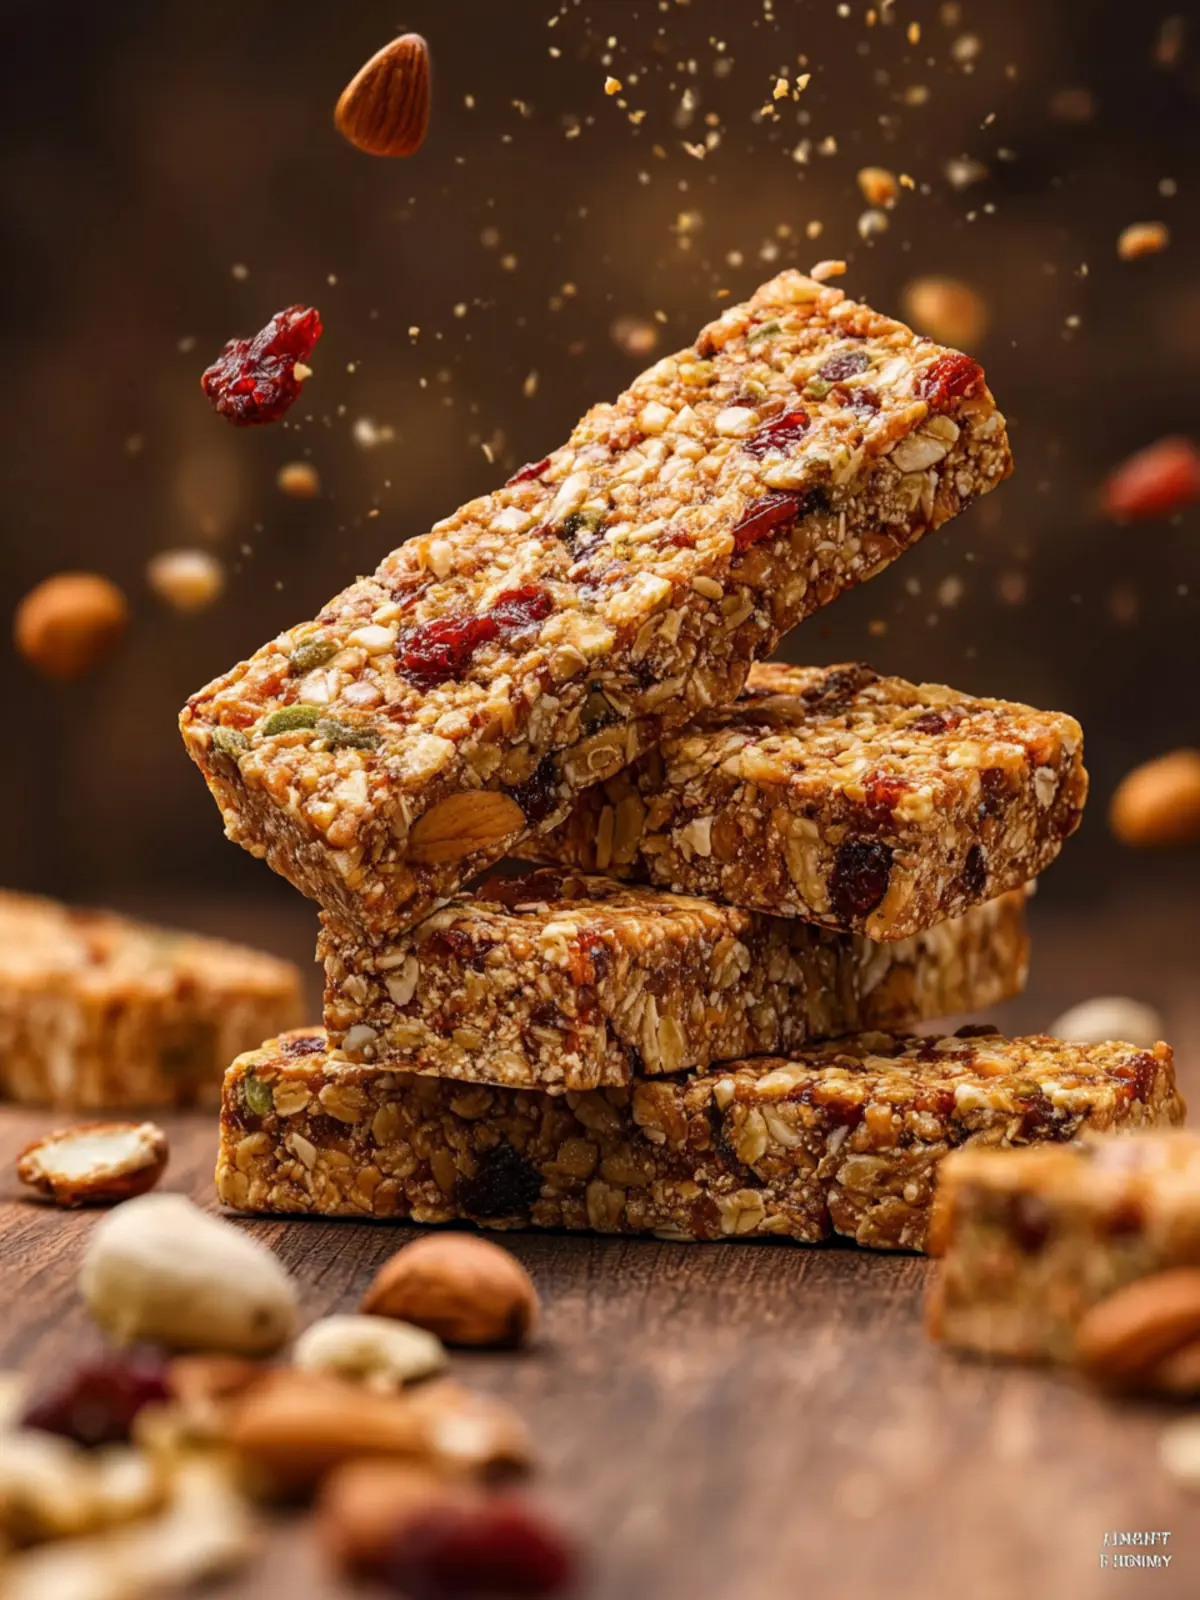
Adding to their charm, these bars are perfect for meal prepping. My friends often ask how I manage to stay energized throughout the week, and it always comes down to having my delicious homemade granola bars ready to go. They are not only enjoyable but filled with wholesome ingredients like oats, nuts, and dried fruits, which offer ample fiber and healthy fats.
So if you’re ready to dive into a world of convenience and flavor, let’s explore the simple, rewarding steps to creating your own no-bake granola bars that the whole family will love!
Key Ingredients for No-Bake Granola Bars
The magic of no-bake granola bars not only lies in their convenience but also in their key ingredients that blend to create a satisfying and nutritious snack. Each component plays a vital role in delivering flavor, texture, and health benefits.
Rolled Oats: I prefer using old-fashioned rolled oats because they provide the perfect chewy base for these bars. They pack fiber and help keep you feeling full, making them an excellent choice for breakfast or an on-the-go snack.
Nut Butter: A creamy nut butter, like almond or peanut butter, acts as the adhesive that holds everything together. It adds rich flavor and healthy fats, giving your bars that satisfying taste and texture.
Sweetener: Maple syrup makes for a natural sweetener that complements the oats beautifully. It enhances the bars’ flavor without being overly sugary, allowing all ingredients to shine through.
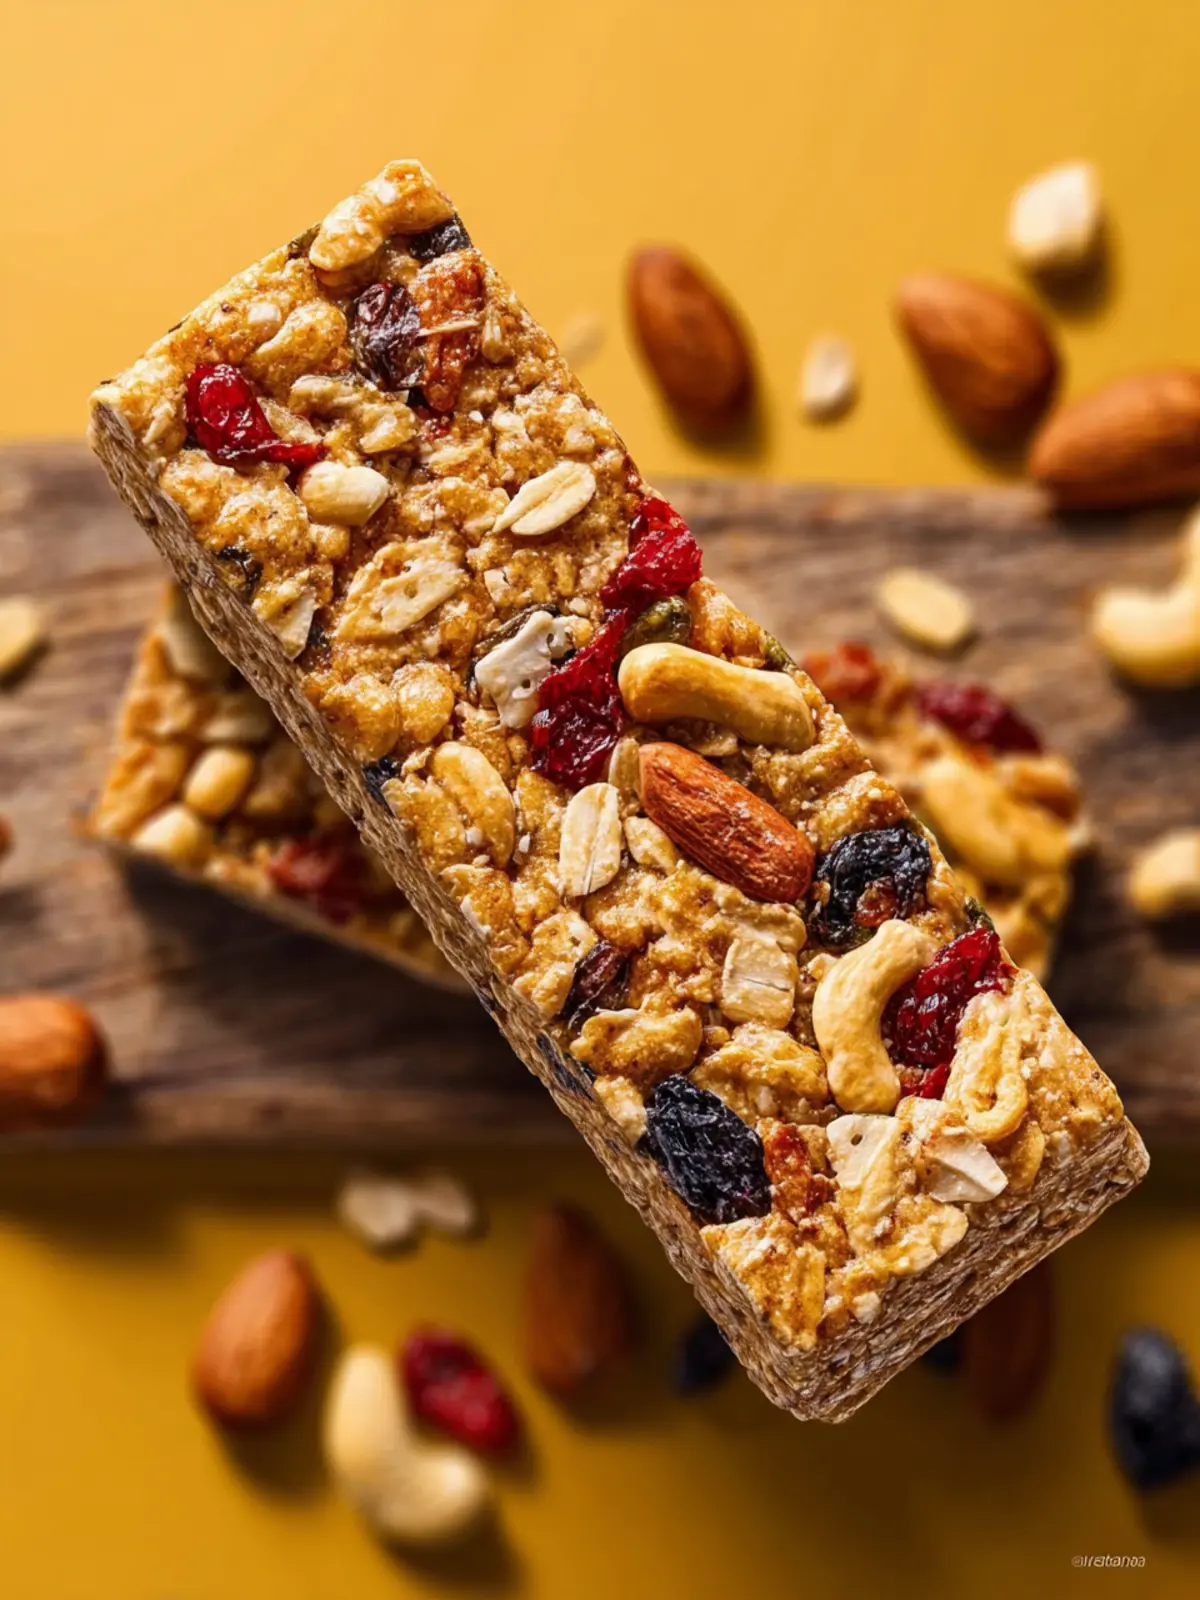
Add-Ins: Feel free to get creative with your mix-ins! I love adding dark chocolate chips or dried fruits like cranberries or apricots for an extra flavor punch. These little additions can elevate your no-bake granola bars from simple to extraordinary. Enjoy experimenting!
Why You’ll Love These No-Bake Granola Bars
There’s something genuinely satisfying about indulging in no-bake granola bars that you made yourself. Picture this: you come home from a long day at work, and instead of reaching for a sugary snack that leaves you feeling sluggish, you have a pantry stocked with these wholesome, energy-boosting bars. Not only are they a delicious treat, but they also provide a healthy alternative that fuels your daytime adventures.
Here’s why you’ll fall head over heels for these bars:
-
Quick and Easy Preparedness: With minimal effort—no oven required—you can whip up a batch of these no-bake granola bars in no time. It’s perfect for busy professionals who don’t want to sacrifice health for convenience.
-
Customizable Ingredients: You can adapt these bars to match your personal taste or dietary needs. Whether it’s tossing in your favorite nuts, seeds, or dried fruits, the options are endless!
-
Perfect for Any Occasion: Whether you need a quick breakfast, a post-workout boost, or a satisfying afternoon snack, these bars fit the bill. You’ll find yourself reaching for them time and again.
So go ahead, treat yourself to a snack that’s not only delicious but also nourishing—because you deserve it!
Tips for Making Perfect No-Bake Granola Bars
When gathering to create no-bake granola bars, think of it as crafting edible energy bites that not only satisfy your snacking cravings but also offer a wholesome boost throughout your busy day. Let’s dive into some tried-and-true tips to perfect your bar-making skills!
Choose the Right Base
Start with the right base for your granola bars. Oats are a perfect foundation as they provide fiber and keep the bars chewy. Rolled oats are your best bet; quick oats may lead to a mushy texture. Don’t be afraid to experiment with a mix of oats and nut flour for a unique twist.
Sweeten Wisely
Using natural sweeteners like honey or maple syrup doesn’t just add flavor but also helps bind your ingredients together. Just remember, if your sweetener is too liquid, you might need to adjust the dry ingredients slightly to maintain the right texture.
Don’t Skimp on the Mix-Ins
Incorporating a variety of mix-ins can elevate your no-bake granola bars. Dried fruits, nuts, seeds, or even dark chocolate chips can transform your bars from simple to sensational. Aim for a balance of textures and flavors.
Patience is Key
After mixing your ingredients, be sure to press the mixture firmly into your pan. The denser you pack it, the less likely your bars are to crumble. Allow them to chill in the refrigerator for at least an hour before slicing; this helps them set perfectly.
Keeping these tips in mind will help you whip up delicious, nutritious no-bake granola bars every time!
Time Breakdown for No-Bake Granola Bars
Creating your own no-bake granola bars at home is not just about the deliciousness; it’s about the simplicity and brevity of the time required. Whether you’re preparing a quick snack or meal prep for the week, knowing how to manage your time is key.
Preparation Time
Getting started is a breeze! All you need is about 10-15 minutes for preparation. You’ll be mixing ingredients, chopping nuts, and stirring in some delicious add-ins.
Chilling Time
Once your mixture is in the pan, allow it to chill for about 30-60 minutes. This time is crucial for achieving those perfectly set bars that won’t crumble when you take a bite.
Total Time
In total, you’re looking at about 40-75 minutes from start to finish. It’s a small commitment for a snack that packs a punch in flavor and nutrition! Enjoy your homemade no-bake granola bars as a quick pick-me-up whenever you need it.
Nutritional Information for No-Bake Granola Bars
No-bake granola bars make for a fantastic snack, providing a satisfying balance of energy and nutrition. These bars are not just delicious but packed with wholesome ingredients, making them an ideal choice for your busy lifestyle.
Calories
Each serving of these no-bake granola bars contains about 150 calories, making them a great option for a light snack or a quick energy boost during your day.
Protein
With roughly 4 grams of protein per serving, these no-bake granola bars help support your muscle health and keep you feeling full longer. Incorporating nuts and seeds contributes to this protein content while adding great flavor and texture.
Fiber
Each bar provides approximately 3 grams of fiber, which is essential for promoting good digestion and keeping you satisfied. The oats and nuts in the recipe play a significant role in delivering this fiber punch, helping you stay on track with your dietary goals.
FAQs about No-Bake Granola Bars
Understanding the nuances of making no-bake granola bars can elevate your snacking game. Here are some common queries that will help you customize and perfect your bars!
How can I make my granola bars chewier?
To achieve that delightful chewiness in your no-bake granola bars, consider adding more sticky ingredients such as honey or brown rice syrup. Another tip is to finely chop your fruits or increase the amount of nut butter. This will bind the ingredients together more effectively, leading to a wonderfully chewy texture.
What can I substitute for nuts or nut butter?
No worries if you have nut allergies! You can easily swap out nuts or nut butter for seeds like sunflower or pumpkin seeds, which maintain the crunch and nutritional benefits. Additionally, seed butter, such as sunflower seed butter or even tahini, can work wonders as an alternative to traditional nut-based options.
How long can I store these granola bars?
When properly wrapped, your no-bake granola bars can last up to two weeks in the refrigerator. For longer storage, consider freezing them; they can keep well for up to three months. Just be sure to separate layers with parchment paper to prevent sticking!
Can I add protein powder to the recipe?
Absolutely! Adding protein powder is a fantastic way to boost the nutritional profile. Simply blend a scoop into your dry ingredients, adjusting your wet ingredients slightly to account for the extra powder. This way, you’ll create a more filling snack perfect for those busy days!
Feel empowered to experiment with these tips, and enjoy your journey into the world of no-bake granola bars!
Conclusion on No-Bake Granola Bars
In wrapping up our exploration of no-bake granola bars, it’s clear these tasty treats are a game-changer for busy lifestyles. With minimal effort and a few wholesome ingredients, you can whip up a batch that’s both satisfying and delightful. Imagine a quick snack that allows you to refuel between meetings or offers a sweet touch to your afternoon slump—these bars have you covered. Whether you choose to customize them with your favorite add-ins or stick to the classic recipe, you’ll find that these no-bake granola bars are a fantastic, feel-good choice for any occasion. Enjoy!
Print
No-Bake Oat Bars with Dates
- Total Time: 25 minutes
- Yield: 16 bars 1x
- Diet: Vegetarian
Description
Delicious no-bake oat bars made with whole dried dates and a blend of natural ingredients, perfect for a healthy snack or dessert.
Ingredients
Scale
- 1 cup whole dried dates (pitted)
- ¼ cup maple syrup (or honey)
- 2 tablespoons coconut oil (melted and cooled)
- 3 tablespoons creamy nut butter (all-natural is best)
- ½ teaspoon vanilla extract
- ½ teaspoon sea salt (omit if you are using salted nut butter)
- 2 cups old-fashioned rolled oats
- ½ cup optional add ins (chopped nuts, raisins, mini chocolate chips, dried fruit, sesame seeds, chia seeds, etc.)
Instructions
- Line an 8×8 square baking dish with parchment paper or wax paper.
- If needed, cut the dates in half lengthwise and remove the pit. Unless your dates are incredibly soft, place them in a large heat-safe bowl and cover with hot water. Let soak for 5 to 30 minutes. Drain the dates, reserving the liquid.
- Place the dates into a food processor fitted with an s-blade. Process until a thick paste forms. Add in ¼ cup maple syrup, 2 tablespoons coconut oil, 3 tablespoons creamy nut butter, ½ teaspoon vanilla extract, and ½ teaspoon sea salt. Pulse until combined and creamy.
- Add in 2 cups old-fashioned rolled oats and pulse until just combined and all the oats are moistened. If needed, add some of the reserved liquid from soaking the dates, 1 tablespoon at a time, until the mixture comes together.
- If desired, add optional add-ins like chocolate chips, chopped nuts, etc. Pulse 1-2 times briefly to incorporate, but not breakdown the additions.
- Transfer the oat mixture into prepared pan. Using another piece of parchment paper, press the mixture into the pan into an even layer. Place in fridge or freezer for 15 minutes until set up.
- After chilling, use the parchment paper to lift the bars out of the pan. Cut into bars.
- Store the bars in an airtight container, separated by layers of parchment paper.
Notes
- Bars are best stored in the fridge to maintain firmness.
- Feel free to customize the optional add-ins based on your preference.
- Prep Time: 10 minutes
- Cook Time: 0 minutes
- Category: Snacks
- Method: No-bake
- Cuisine: American
Nutrition
- Serving Size: 1 bar
- Calories: 150
- Sugar: 8g
- Sodium: 50mg
- Fat: 6g
- Saturated Fat: 3g
- Unsaturated Fat: 2g
- Trans Fat: 0g
- Carbohydrates: 20g
- Fiber: 3g
- Protein: 3g
- Cholesterol: 0mg